
A video editor is like the bass player in a band.
Oftentimes, they’re overshadowed by the drummer, but their role is as important to the rhythm (or foundation) of a song. It might not take centre stage, but if the bass is removed, out of sync, or too flashy, you take notice.
It’s the same with video editing. Animated transitions like wipes and starbursts can be tempting, but they’re distracting. So are poorly timed cuts and over-designed text overlays.
As a video editor, subtlety is your best friend – it’s the art of not being seen. Yes, there are exceptions to the rule. If it benefits the story or amplifies the message, an obvious edit serves a purpose.
But the truth is, the biggest impact in editing comes from a lot of small details working together. It’s the sum of the parts making up the big picture.
Let’s break down these small details.
Plan ahead and storyboard
When shooting a video, having a concrete plan saves you time. Before filming, ask yourself a lot of questions, like:
- What shots do I need to properly communicate the message?
- What kind of tone (energy) do I want to achieve?
- Where will my video be seen?
- Where will it be filmed?
- Will there be voice over (V/O)?
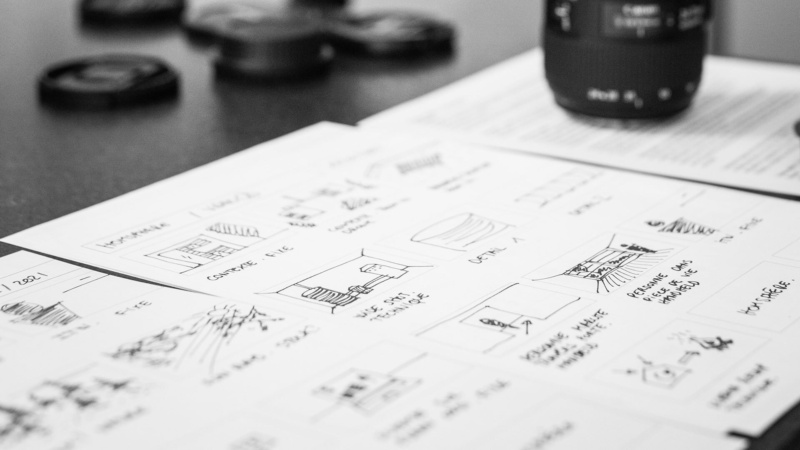
You’ll also want to consider creating a storyboard, outlining the look and feel, the script, and the flow from start to finish. A storyboard helps get client buy-in before filming, and it keeps your videographer and editor on the same page.
Watch raw footage
Whether you’re creating a 15-second ad or a 30-minute how-to video, watching the raw footage is a must. It makes the rough cut come together much smoother.
As you watch, note the timeline for scenes that stick out. Determine what’s a-roll and what’s b-roll footage, and start organizing clips in a way that makes sense to you.
Create your rough cut
Once you’ve gone through the raw footage, it’s time to start the editing process. Create the first draft of your video by placing clips in order and removing those that aren’t necessary.
At this stage, don’t worry about fine details like transitions, timing, audio levels, and colour balance. The point is to nail down a logical flow that matches the story you’re trying to tell.
Your rough cut doesn’t need to look pretty, but it needs to make sense.
Fine tune the details
This is where the magic happens during editing. At this stage, you’re trimming each clip perfectly and making each transition seamless.
You’re adjusting colour correction and grade for consistency from beginning to end. You’re balancing audio so the V/O is crystal clear and on-screen speakers are easily heard. You’re adding music to make the video more dynamic and complement the story.
And you’re doing it all in subtle ways. Here are a few tips to help you achieve this.
Time cuts and transitions
Whether you’re using straight cuts, fades, dissolves or even animated transitions, timing is crucial for a seamless flow between each clip.
Want to make your video feel fast and energetic? Straight cut a series of short clips together to increase the pace – for dramatic effect, use longer clips with slower transitions.
To smoothen a transition, try cutting on action. In the video above, notice how each clip includes movement during the cut – from the slow panning to the people walking and gesturing. This adds a natural flow to the video.
If you wait for the actors to stop moving or cut away from a static shot, it can be jarring to the viewer.
Cutting away from speakers also maintains flow. Interview-style and how-to videos embrace this technique to keep things interesting and provide an opportunity to showcase what the individual is talking about.
Consider the Visit Kingston video about one of the craft breweries in their region. Instead of staying on the speaker, b-roll clips are cut in to add context to what he’s saying and keep the viewer engaged.
Colour correction and grading
Colour correction is adjusting colour issues so they appear on screen as they would in the real world. Another reason for colour correcting is to make sure each clip matches after a transition.
Colour grading is a more creative technique. Its function is to add atmosphere and emotion – sometimes creating an unnatural or enhanced look – and help you achieve a certain mood in your video.
For an in-depth look at colour correction and grading, check out this article from Studio Binder.
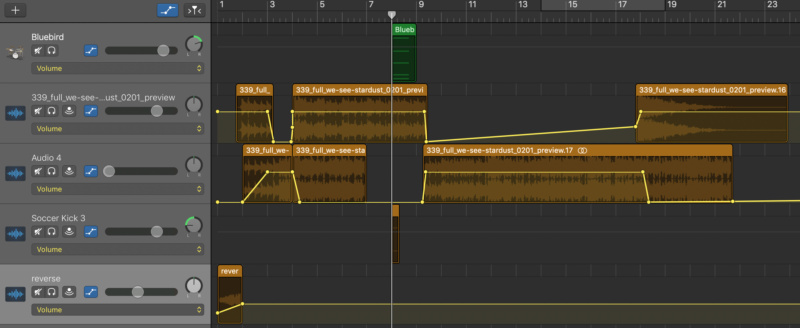
Adjust audio levels and add music
It’s important to record speakers in a consistent way whenever possible. The overall viewer experience is tarnished if the audio quality doesn’t match when cutting from one clip to another.
For inconsistent recording environments, like when you film in different locations at different times, manipulating each clip’s tone and volume helps create balance. Go through your video and adjust the audio of all the on-screen speakers or V/O to make sure the volume matches.
If you want to bring attention to what’s being said, consider fading the volume on ambient noise or sound effects to allow the V/O or on-screen speaker to be heard clearly. Adding sound effects also adds emphasis – in the Minto Communities Ottawa video shown earlier, did you catch the sound effect when the young boy kicked the soccer ball?
When adjusting audio, it’s important to use an audio meter. Don’t trust your ears to match each track perfectly.
Music has a dramatic effect on the energy and pace of your video. But take care in the type you select.
If you want the viewer to feel joyful, consider something upbeat – if the content is solemn, use a song fit for the mood. Keep each cut in rhythm with the music, too, as this helps maintain the flow of your video and prevents jarring transitions.
Remember, a lot of music is protected by copyrights and requires permission to use. For royalty-free tracks, check out premiumbeat.com or pond5.com.
To clean up stutters, filler words (ums and ahs), or breaths, try crossfading between audio clips, while fading in and out of sound helps smoothen transitions. Finally, use an equalizer (EQ) to remove unwanted hissing.
Adding text and still images
Adding text to complement (or replace) the V/O is a great way to highlight important information in your video. But stick with a basic typeface, and don’t go overboard on flashy colours – keep text short and consider adding a slight drop shadow to make it more legible.
Try timing on-screen text with music and sound effects, or add colour to certain words to draw the viewer’s eye. Check out this video for the Minto Dream Home for CHEO for reference.
If you’re working with limited b-roll footage, consider using still images to complement the V/O or speakers. To keep pace and movement, try adding a slow pan to the images.
Similar to music, make sure you have the rights to the photos you use – gettyimages.ca is a great resource for images and stock video.
Additional editing tips to save you time
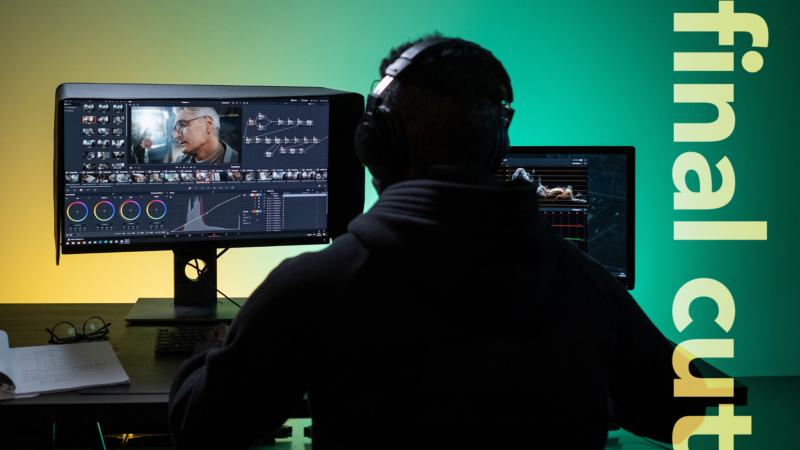
One of the most underrated tips for editing is learning your software’s keyboard shortcuts. This may only save you a second or two in the moment, but those seconds add up to hours in a single project.
To learn the keyboard shortcuts for the most popular editing software – like Final Cut Pro, DaVinci Resolve, and Premier Pro – free cheat sheets are available on Google.
Another time saver is increasing your computer’s RAM and purchasing an external hard drive. At least 8GBs of RAM is recommended for running editing software efficiently, while offloading raw footage helps keep your computer running smoothly.
For graphics-intensive work, like colour correction and grading, invest in a premium GPU (graphics processing unit) to speed up the process.
Lastly, practice with purpose.
Like any skill, the more you hone it, the sharper it gets. Set time aside for personal projects and focus on a specific element of editing – adjusting audio, experimenting with different music tracks, colour correcting. You will improve your skills and you’ll get faster, too.
Do you often create videos for YouTube? Don’t let your precious editing efforts go to waste – learn how to make your videos more discoverable with our guide to YouTube SEO.